Translate

Friday, July 17, 2015

Limited time offer! Buy kit get free fat quarter!

Two days only! The whole kit of supplies for Quilters sewing bag + FREE fat quarter of fabric "April in Paris" collection, Timeless treasure.
Ends Sunday night, July 19th!

Have you already made your own Quilters sewing bag? Tutorial is here 


The size of the bag is 13 1/2" x 6" x 7" it's NOT a bionic bag, it's about twice bigger!). It can hold all stuff you can see on the picture including 12"x6" ruler, small cutting mat, even your mini-iron and large spools!

Wednesday, July 15, 2015

Still free shipping!


These clear vinyl bags are perfect addition to the Quilters sewing bag - Tutorial is here!

You can also purchase the whole kit of supplies here
and make your own Quilters sewing bag! Just pick one fat quarter of your favorite exterior fabric and matching fabrics for the lining, sides and pockets! You have an option to choose from: light bamboo handles or black. You can also choose the color of zippers. Colors for vinyl bags closures are picked randomly, but you can precise if you have a preference!

You can find a lot of sewing and quilting items to fit your bag in my Quiltess.com store you are welcome to visit!

Happy sewing!

Natalie Quiltessa

Tuesday, July 14, 2015

Shell pouch

In addition to my Fancy fans bag (tutorial on Etsy) I developed a new pattern for the pouch/cosmetic bag (whatever it's called!) and I am really pleased with it!


Swivel hook on the side of the bag holds this pouch through little loop I attached when was finishing binding.
It clasps with two small sewn-in hidden magnets and opens like a shell! Both halves have clear vynil sides with decorative black and white zippers sewn just to the top with invisible thread.

Of course, one was not enough, so I made two at a time!


Monday, July 13, 2015

Sun-dying fabrics (again!)

Gloves! Check for holes before wearing!
Soak your fabric in Syntrapol for 3 min, rinse well - ready to use!
Basement - good for starting the process, no sun, dimmed light, will not activate dye.
Use trash bag as an apron! Pull one handle, hang over the neck! Cut the sides and use the other string to tie over the waist.
Contact paper - PERFECT! Attach to thin wood board, cardboard or smth like this, remove air bulbs with squeegee. Reusable! No mess, no stains left!
Place prepared wet fabric on contact paper, spread (it doesn't soak, multiple use!).
With wide foam brush strokes apply dye (or with smaller brushes do multiple coloring).
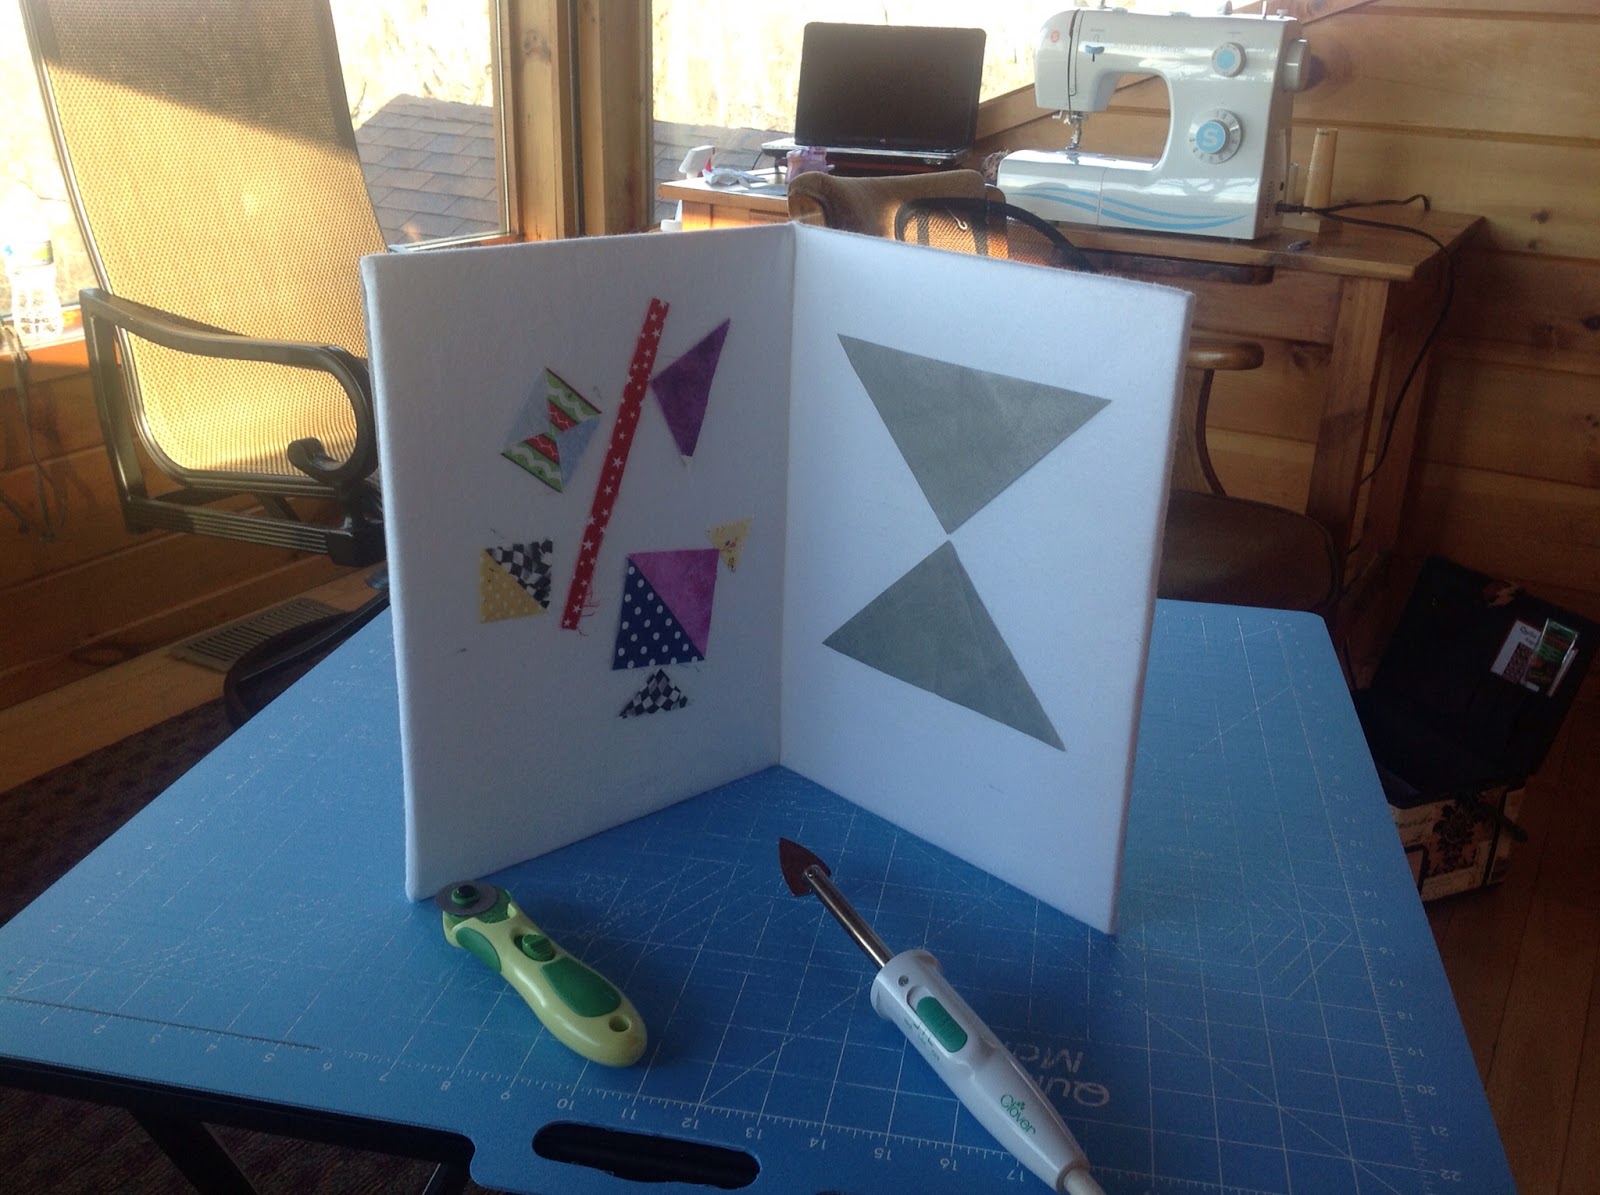
Place templates, leaves, objects, whatever... on wet painted surface and QUICKLY bring it outside to expose to direct sunlight.
Work outsides! or be VERY careful! One small grain, dust or drop will leave a MESS!
Work fast!
Better to do it at noon, when direct sun rays, no shade!
When it's done bring back to the room, leave it as it is before rinsing, it still continue activating, will be brighter in a while.
Quote from here 

Open the link and keep reading..


More links:
http://www.sheknows.com/living/articles/965403/how-to-sun-dye-fabric
http://www.dharmatrading.com/techniques/sun-painting-with-setacolor.html
http://www.gardendesign.com/diy-projects/sunprint.html
http://www.bloombakecreate.com/2012/09/more-sun-printing-fabric-with-dye-na-flow/
pics - https://www.pinterest.com/explore/sun-prints/

Sunday, July 12, 2015

Scissors locked?

If you are not on Facebook, you might like this!

It worths to read comments too!!!

Saturday, July 11, 2015

Portable 3 in 1: cutting board, ironing mat and double fold design wall - DIY!


Paper piecing and especially freezer paper piecing is my favorite technique. It requires a lot of ironing! Every piece of fabric should be ironed to the freezer paper, stitched, cut and again, iron, stitch, cut etc. Here's just some of work done using this method (designer - Cynthia England):
I always try to make my working process more efficient: comfortable sitting, swivel chair, every needed tools, cutting mat and mini-iron close to touch. Years of experience showed me that I wasted a lot of time standing up going to the cutting board,  sitting down at the chair to stitch, standing up again, going to the ironing board, going back and again, and again... If you work like this I can tell you, the sewing process is no fun and freezer paper piecing will probably never become your favorite method! However, this process can be much improved if you use my portable 3 in 1 folding board, which includes cutting board, ironing mat and design wall - all in one! Ironing board is covered with aluminized coating fabric padded with insul bright, which reflects heat, so you can also use this mat for applique using any kind of fusibles! Easily cleans with a damp cloth. Folding foam board makes it light and convenient to carry and manipulate with - weighs less than a pound!
And I use it just on my knees: cut pieces on one side, flip it over and iron! When you unfold the board all small pieces will stick to the flannel, so no worry to drop them on the floor or loose! You can also use this trick to keep all precut pieces inside the board when you take a break, use it as a temporary storage for your project! You can also use it as a small design board for your blocks or smaller designs. Remember, you always perceive your design better, and I would say more correctly, when you look at it vertically, not lying horizontally on the table - just one more advantage of using folding board.

 DIY! Or purchase my tutorial on Etsy  or on CRAFTSY with detailed instruction how to make this board and what appropriate supplies to use
If you don't want to make but still want it, buy my ready board in my Etsy store.


If you like my product, please, leave positive review!

Happy sewing!

Natalie Quiltessa

Wednesday, July 8, 2015

Clear plastic templates

Use your milk/juice jugs for templates!
They are semi-clear, easy to view the direction or chose the print on the fabric, flexible and you can use them multiple times!
There are two 3" perfect circles on both sides of a gallon jug, you don't even need to draw it, just cut it off!
I would recommend to use your dull rotary cutter blades, they are still good enough for cutting plastic!

The best advantage of clear/semi-clear plastic - you can see through the objects and printed message or position your template whatever direction you prefer!
Punch wholes in your template, so you can choose the direction or angle you want the template to be on a fabric, then pin it, it will help to hold in place fabric and manipulate it when you cut it and later on when you prepare your templates for sewing.

Sign them with permanent marker, put them in flat clear vinyl bag and keep it in your Quilters sewing bag!


Happy sewing!


Saturday, July 4, 2015

Fancy fans bag

Just finished new bag using a lot of selvages! I called it "Fancy fans bag".


Feel free to ask any questions for further assistance. 

Happy sewing!
Natalie Quiltessa

Thursday, July 2, 2015

Supplies kit for Quilters sewing bag - now on Etsy too!

I know it's not always easy to find all kind of hardware and supplies you need to make a new bag, especially  if it's a Quilters sewing bag! I also know this bag is getting more and more popular now because of it's generous size and convenient construction of the pockets, which allows you to keep you 12" x 6" ruler and small cutting mat underneath - it's a MUST HAVE of a season right now!
If you're still looking for supplies and hardware, don't procrastinate! Here they are, all in one place!
In 2 variations - dark and light!

Need clear pockets only? Find them here too! And, good news - Free shipping within USA!!!
Tutorial is also available - right here.

Don't plan making the bag? Want the ready one? Dig in the store and pick one, for you or your Quilter friend!